 Jun 30, 2020
 ~3 minutes

Gigatron
The Gigatron is an 8-bit computer kit, developed a couple of years ago, in March 2018, by Marcel van Kervinck and Walter Belgers.
There is plenty that makes it special, but the foremost aspect of interest is that it does not contain a CPU (central processing unit) or GPU (graphics processing unit). It is comprised entirely of TTL (transistor-transistor logic) chips, LEDs, capacitors, diodes and resistors, etc. Every component is through-hole, so they are easy for a relative beginner to assemble, and there is both a brilliant manual and series of videos to explain in detail how to build and get it running.
A couple of weeks ago I was really lucky to have picked up the last Gigatron complete with wooden case. It doesn’t take long to assemble, probably averaging 2-4 hours from start to finish.
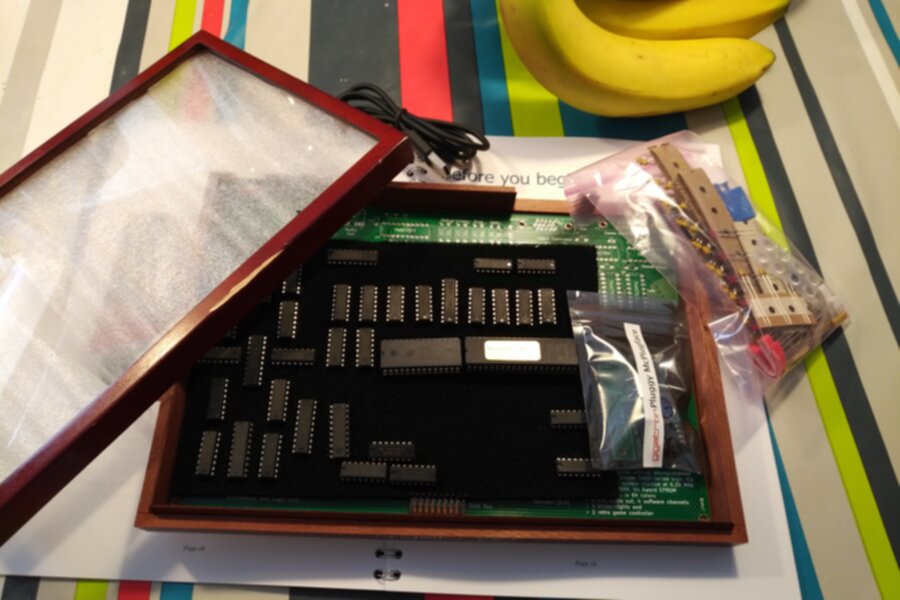
Gigatron Unboxed
The Gigatron comes with a case that matches the dimensions of the box, and is nicely bound with plastic covers, glossy pages, and loads of pictures and diagrams. Just how an “owner’s manual” should be.

Unfortunately, when I got mine, it had a chip in the wooden case. Slightly disappointing, but I was still excited to get started with it. There is attention to detail everywhere, and you first might notice it when looking at the chips, which are all laid out to match the layout of the PCB.
Everything is ready, components checked off against the list in the book…
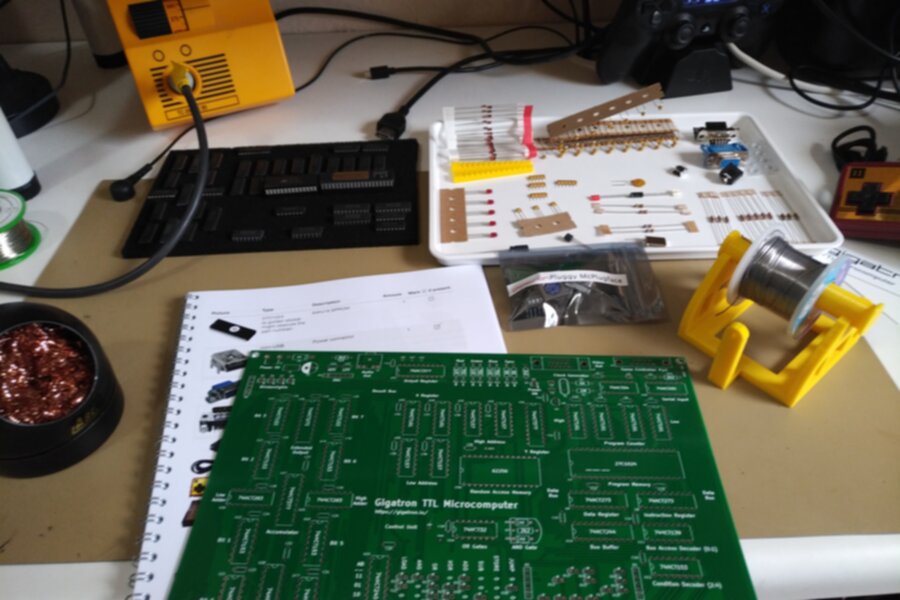
While soldering the capacitors, more attention to detail comes to light - the manual deliberately takes you through installing components in a specific order. This first step is to get you used to soldering if you’re either rusty or haven’t had much experience before. All of the types of capacitor have a different footprint, making it hard to put them in the wrong place on the PCB. At the end of this first step, it is suggested to check your progress with a multimeter, which is also both a practical example of using a multimeter, and a good sanity check if you’re not confident about the process. Incidentally, there are a number of videos to accompany the book.
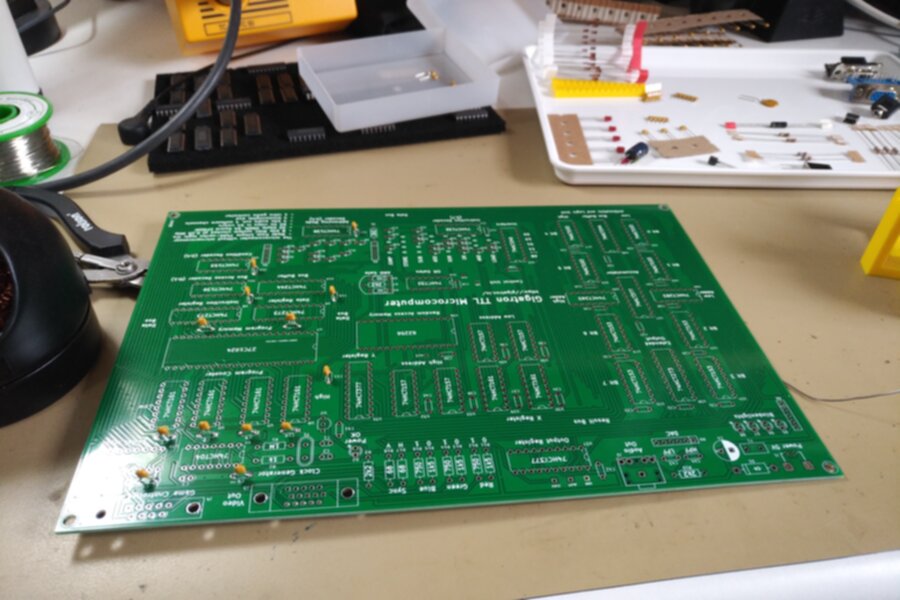
After the capacitors comes the power circuitry, and at this early stage you can also test powering the circuit with a USB cable and get an LED to light. Literally within 30 minutes of taking everything out of the box. This is pretty cool.

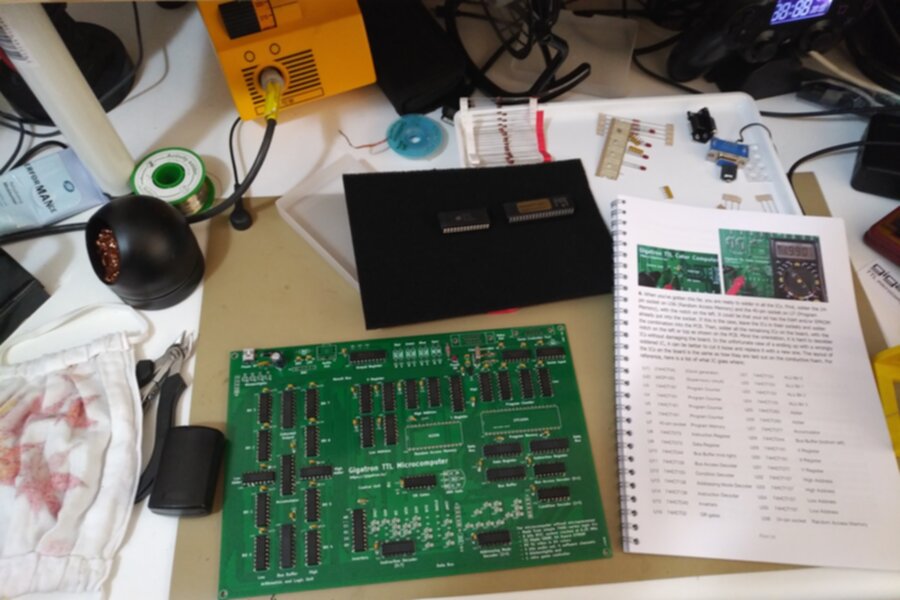
The bulk of the soldering is on the TTL chips. It’s a really relaxing and fun process. All of the chips are aligned with the notch either at the left or the top. Yet another cool example of their meticulous attention to detail in the process.
Finally, everything is soldered and the “blinkenlights” spring to action!
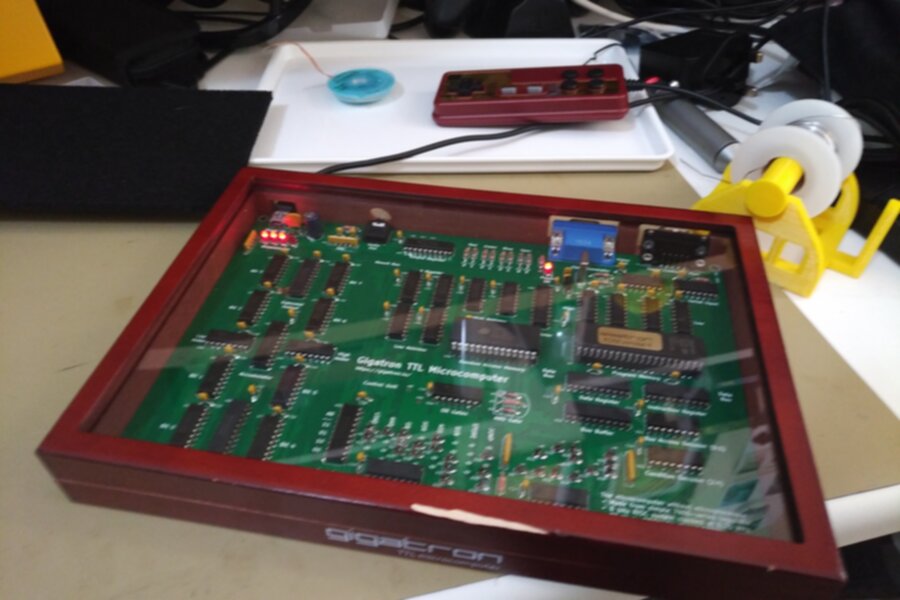
Fortunately the missing chip (of wood) surfaced, and I was finally able to glue that back in place, and the wooden case now looks fantastic!

A couple of days later, I finally sourced a VGA cable, and the Gigatron is in place in its new home.
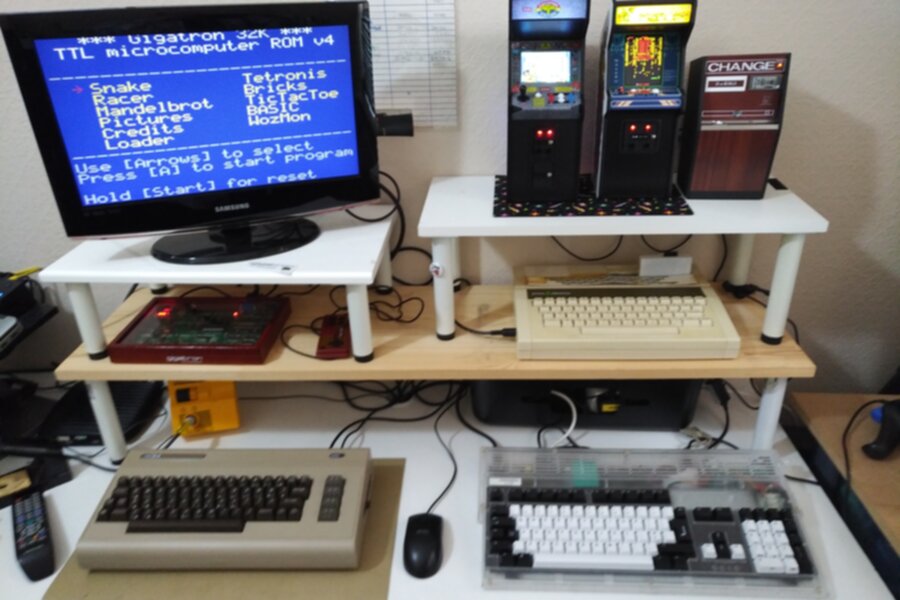
The only things left now are to get a PS/2 keyboard and have a go at BASIC. And then to the hacking…