Jul 18, 2020
 ~4 minutes

A1200 Can Destroy Expansion Boards!
Background
This is apparently a problem that luckily most people haven’t encountered, but this is a cautionary note in case someone else has had unexpected issues when installing an expansion board on an Amiga.
I have ended up buying three separate expansion boards due to problems, and when I had the first board, I wasn’t even aware of the problem. Retrospectively, the issue I had with it may have been down to the problem.
I hadn’t originally realised there was a problem. I’d sent my A 1200 to GadgetUK164 who kindly spent a long time looking at an unrelated keyboard issue (which turned out to be a worn out connector that needed trimmed) - and he also fixed an additional audio problem that I wasn’t even aware of! He had made a fly lead to switch the expansion between 4MB and 8MB, but it was refusing to switch.
Even after adding a resister which was suggested as a fix, it still didn’t successfully switch to 8MB - it seems permanently stuck on 4MB.
The reason to switch between 4MB and 8MB is sometimes necessary, as the compact flash will not work if the Amiga has more than 4MB.
The fly lead would have made switching memory so simple.
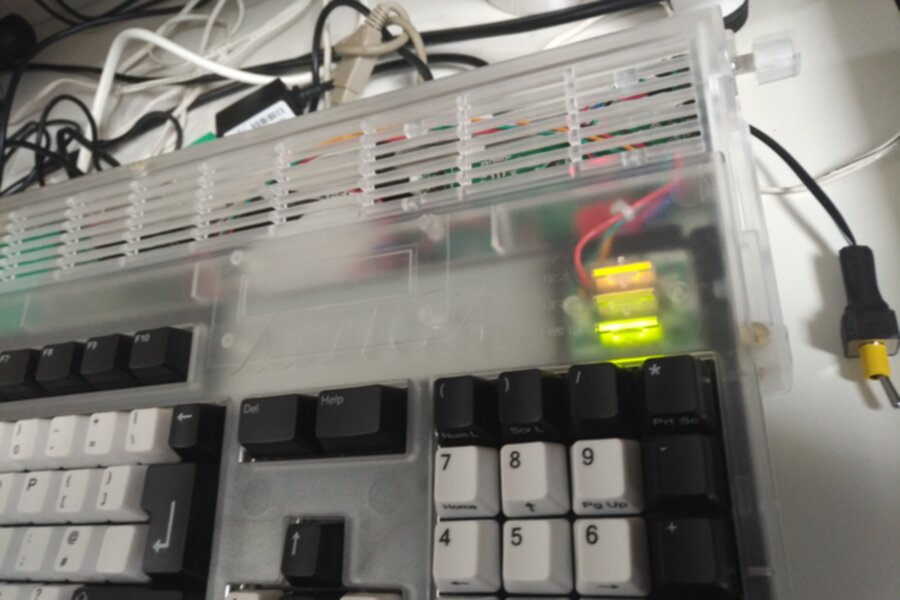
The soldered resister didn’t make a difference.

A New Expansion
By this time, I had assumed that I had probably damaged something on the board, and was content with using just 4MB for a while. At least I could copy images across using the compact flash card. The downside was that some games were very choppy with less RAM.
After a while I accidentally stumbled on a new expansion card. This one has an additional switch for 5.5MB, which apparently, with a software upgrade, will allow the compact flash card to work with an enhanced 5.5MB. It also has an optional FPU and clock, so I ordered one with both!
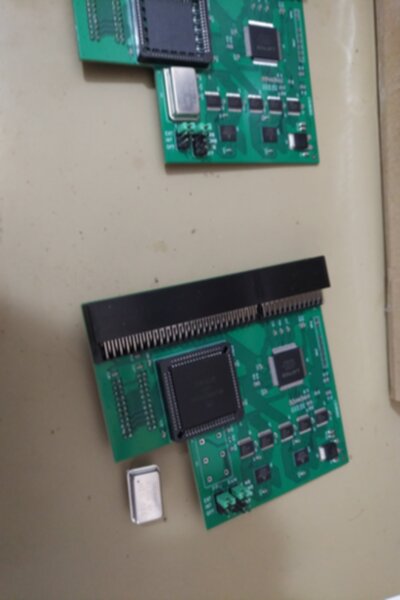
It arrived quickly, but first I found that the card was an extremely tight fit. It’s hard to see here, but the upgraded Amiga case doesn’t have quite enough room for the expansion. Or perhaps it does, but it’s a very, very tight fit.
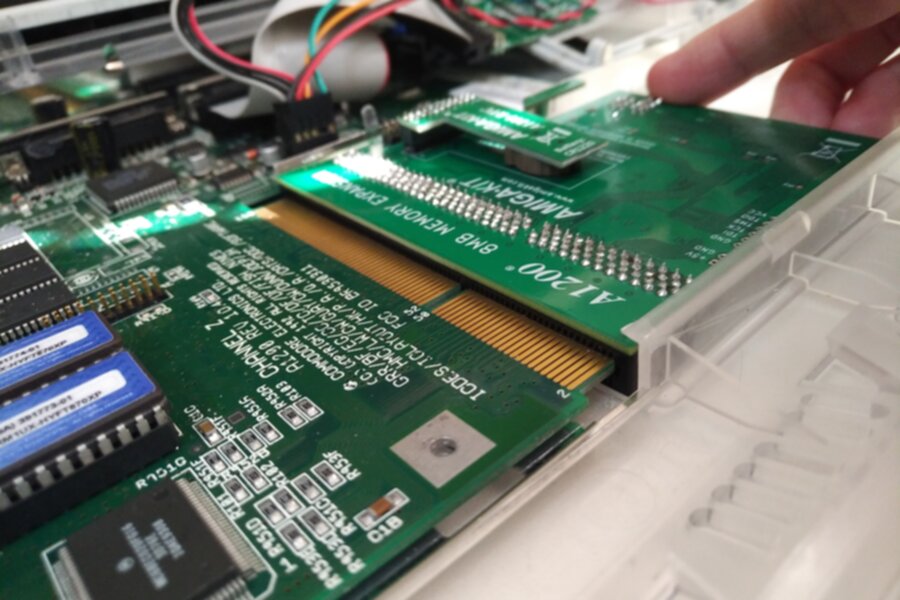
I did end up, at first filing down the plastic of the case, and in the end I just cut it away. It’s not a visible part of the case, so it doesn’t matter anyway. The difference between the new expansion and the original one is that this new expansion board has the PCB extending flush to the end of the connector.
While I was contending with this, there was another cause of tightness, which turned out to be a much more expensive problem.
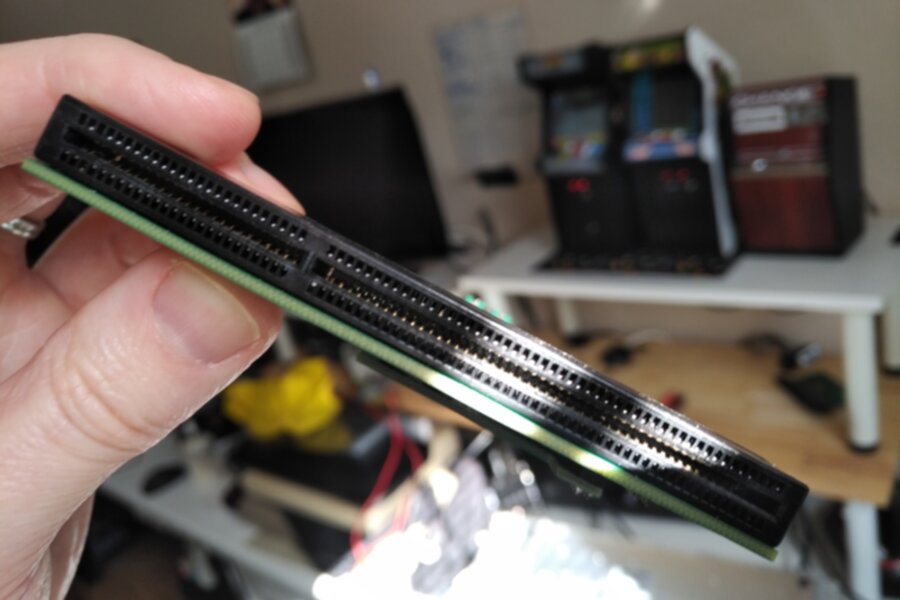
Damaged pin had to be removed - apparently it isn’t used, but that turned out to be academic, as more pins got damaged later.
The Cutting Edge
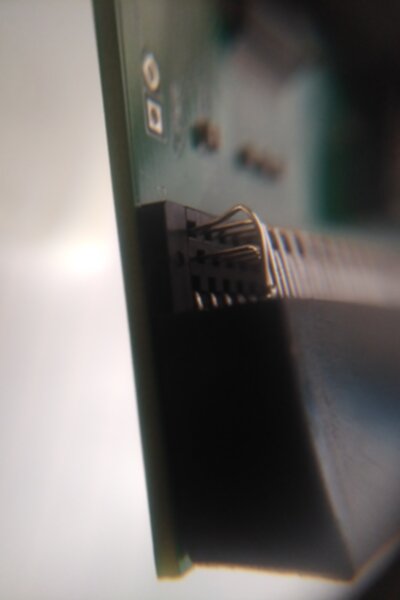
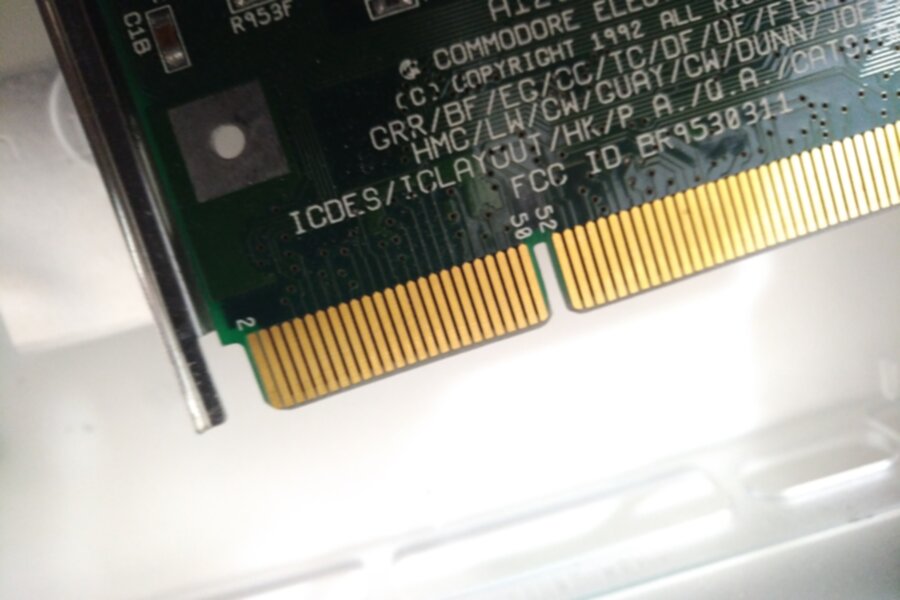
Apparently my Amiga’s edge connector was unusually sharp. Normally, I’m told, the Amiga motherboard edge connectors have a bevelled edge. As you can see here, mine didn’t. Each time I attempted to push it in place, it was raking at the pins inside the expansion’s connectors and pushing them back inside the connector.
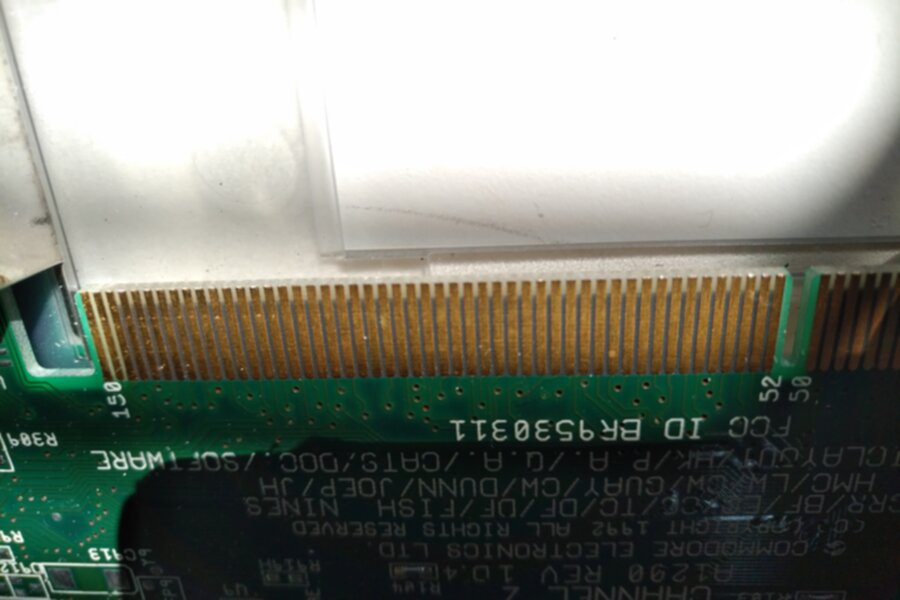
I have to say that during my plight, I was occasionally emailing Christopher at AmigaKit who was extremely helpful. After a few exchanges (and me sending a photo of my motherboard - see above) he finally said “We have a winner! Yours is the first 1D4 board I have seen with this issue.”
While I didn’t exactly feel like I’d won anything, at least I’d found the issue. I’d also finally realised that the problem I might have had with the previous expansion card might also have been related, as it looked like a couple of pins on that might have been bent. I had never noticed that at all!
Filed down, the edge connector looks a lot more expansion friendly!
So, I ordered a second expansion card. This time without the additional clock or FPU. I transplanted the clock and FPU quite simply, and attempted to desolder the crystal. Managed to get three pins loose, but the fourth one, naturally the ground pin, refused to play ball. I decided just to buy a new one to populate the new board. Actually the FPU would have worked without it, with a jumper set to ‘INT’, but I really wanted everything to work!
Now my Amiga is working perfectly, and although I currently don’t have a fly lead, I do have the ability to switch from 4MB to 8MB if I need to using the jumpers. At least I shouldn’t have to mod my Amiga again for a little while!
Finally, I do want to highly recommend the expansion. Even if it wasn’t their fault, Christopher was extremely helpful, and they also sent me an additional connector in case I could fix the original expansion board I got. The AmigaKit board itself works flawlessly, and it is so amazing to be able to play Simon The Sorcerer without any stuttering during loading!