Feb 18, 2017
 ~2 minutes

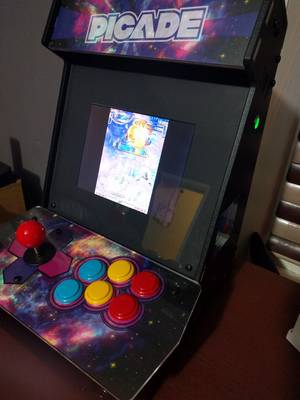
Picade
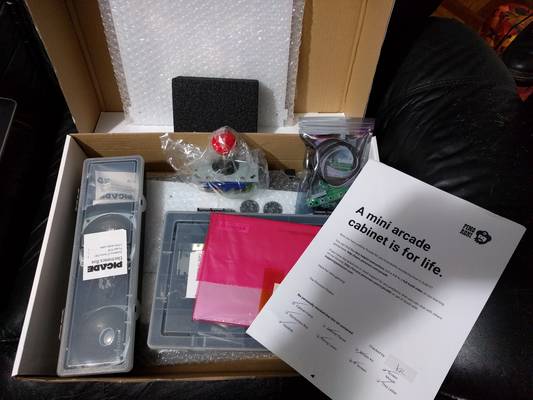
Early this year I got a Picade, a fantastic kit that allows you to mount a Raspberry Pi, BeagleBone or mini-ITX board and wire it up to a screen (8" to 12"), speakers and arcade controls all in a neat desktop arcade cabinet.
Picade started with a fantastically successful Kickstarter campaign. Although I didn’t really pay much attention at the time, it finally came to my attention over the holidays. The thing I love about it is that it’s all open source and eminently hackable.
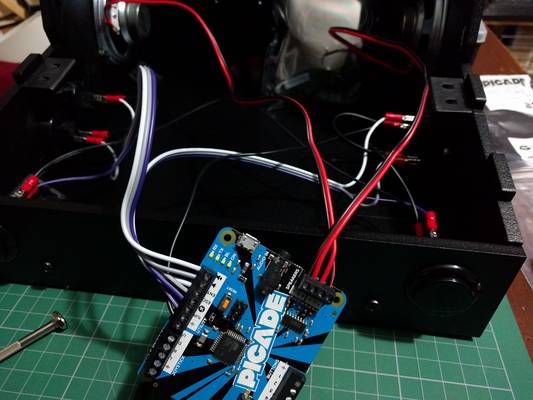
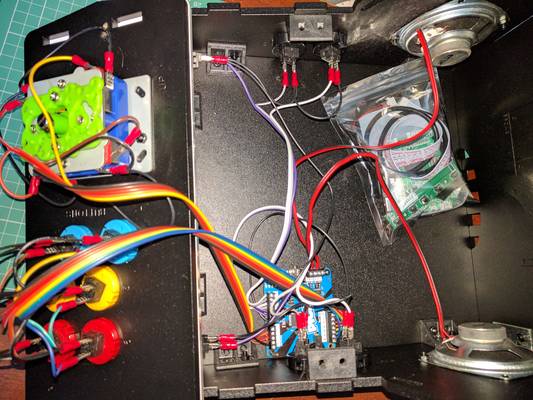
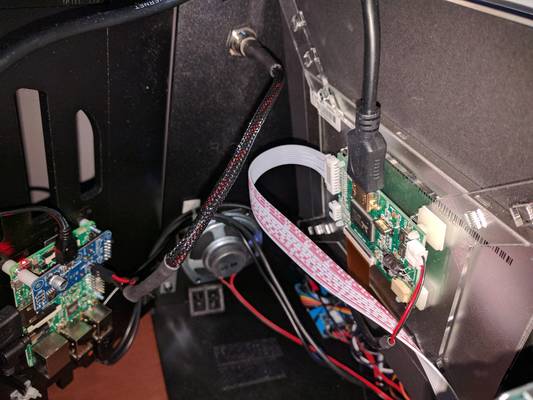
I plan to change a couple of things, like the arcade stick, and have already added a power button using a (PowerBlock hat) and heatsink to overclock the Pi 3. This has had big difference in performance, and some of the more demanding MAME games run much more smoothly as a result. It’s possible that a little more performance could be squeezed out by adding a fan, but I’d also rather keep the unit relatively quiet.
With heatsinks fitted to my Raspberry Pi 3, the following appear to work fine for overclocking. To apply the settings, add the following in to the /boot/config.sys file. This may need super-user rights to work.
Caution: Do not change these settings unless you are aware of that incorrect overclocking with inadequate cooling can permanently damage your Pi.
# Overclock settings for use with heatsinks
arm_freq=1350
over_voltage=4
core_freq=500
gpu_freq=500
sdram_freq=500
temp_limit=85
If you do not have heatsinks, then replace the lines arm_freq and over_volate with the lines below. It’s advised not to overclock the voltage or the CPU frequency. In this case, the below worked fine for me:
arm_freq=1200
over_voltage=2
This line, which overclocks the SD card, caused my internal wifi to stop working, so I wouldn’t recommend using it. However, if you’re happy to experiment, your mileage may vary.
dtoverlay=sdhost,overclock_50=100