GUI as a Workflow Application
Background
Since using tiling window managers like DWM or I3, I’ve come to realise that my approach to using my computer has also changed. No longer is the GUI simply a tool to launch and arrange separate applications, but it’s become a sharpened tool adapted specifically to my workflow needs.
Window Manager Workflow
To begin with, there are a few specific shortcuts I have configured - mostly using the Meta (Windows) key as this has minimal conflicts with any applications.
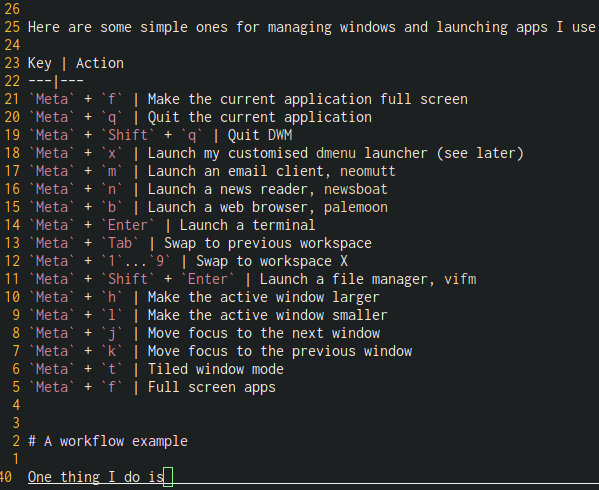
Here are some simple ones for managing windows and launching apps I use:
| Key | Action |
|---|---|
Meta + f |
Make the current application full screen |
Meta + q |
Quit the current application |
Meta + Shift + q |
Quit DWM |
Meta + x |
Launch my customised dmenu launcher (see later) |
Meta + m |
Launch an email client, neomutt |
Meta + n |
Launch a news reader, newsboat |
Meta + b |
Launch a web browser, palemoon |
Meta + Enter |
Launch a terminal |
Meta + Tab |
Swap to previous workspace |
Meta + 1…9 |
Swap to workspace X |
Meta + Shift + Enter |
Launch a file manager, vifm |
Meta + h |
Make the active window larger |
Meta + l |
Make the active window smaller |
Meta + j |
Move focus to the next window |
Meta + k |
Move focus to the previous window |
Meta + t |
Tiled window mode |
Meta + f |
Full screen apps |
A Workflow Example
Occasionally I want to write a blog, so I have s shortcut for that. Meta + x, blog, Enter, post, Enter and that brings up Vim with a new draft to begin writing an article. Within Vim, I can then press Space (the leader key) then I which brings up a folder selection dialog where I can pick a folder with an image to include. Once selected, sxiv launches to allow me to select images to include in the article, and they will be automatically resized (preview and full-sized) and copied to the correct folder for the blog entry. The process also then includes the correct markup to include the images in my blog entry.

Then I can press Meta + x, blog, Enter and choose from other options such as Preview Site with Drafts (which opens the site previewed in my web browser, and automatically reloads every time I save a change) or Publish.
Publish then will commit the changes, push to GitLab, and hooks will then update my live site using Netlify. I also used to have an “If This Then That” trigger to publish on Twitter that I have a new article.
All of this can be performed quickly and efficiently, and with minimal use of the mouse (only currently required while selecting a folder, although there are alternatives to that approach too).
Conclusion
Clearly this workflow is streamlined for keyboard use, and specifically biased towards Vim key bindings. Many of the applications I use I customise the shortcuts to be consistent which makes overall flow pretty intuitive and when it works well, many separate applications end up working together to a single unified process. This is what epitomises the power and flexibility of the free / open source ethos to me, and it takes away reliance on specific tools to perform the task at hand. There isn’t a single application I use that couldn’t be replaced with another similar application to perform the same job.
Another term I like to use for this approach is “anti-fragile” - if one link in the chain breaks, then it can be quickly replaced with another that is at least as good or even improved through customisation. Also if my workflow needs to change, then it is something that I can implement at any time.